GCSE Tutoring Programme
Our chosen students improved 1.19 of a grade on average - 0.45 more than those who didn't have the tutoring.
In order to access this I need to be confident with:
Segment of a circle Circles, sectors and arcs Parts of a circle Perpendicular bisectorThis topic is relevant for:

Angle Bisector
Here we will learn about angle bisectors, including how to construct an angle bisector using a pencil, a ruler and a pair of compasses.
There are also constructions worksheets based on Edexcel, AQA and OCR exam questions, along with further guidance on where to go next if you’re still stuck.
What is an angle bisector?
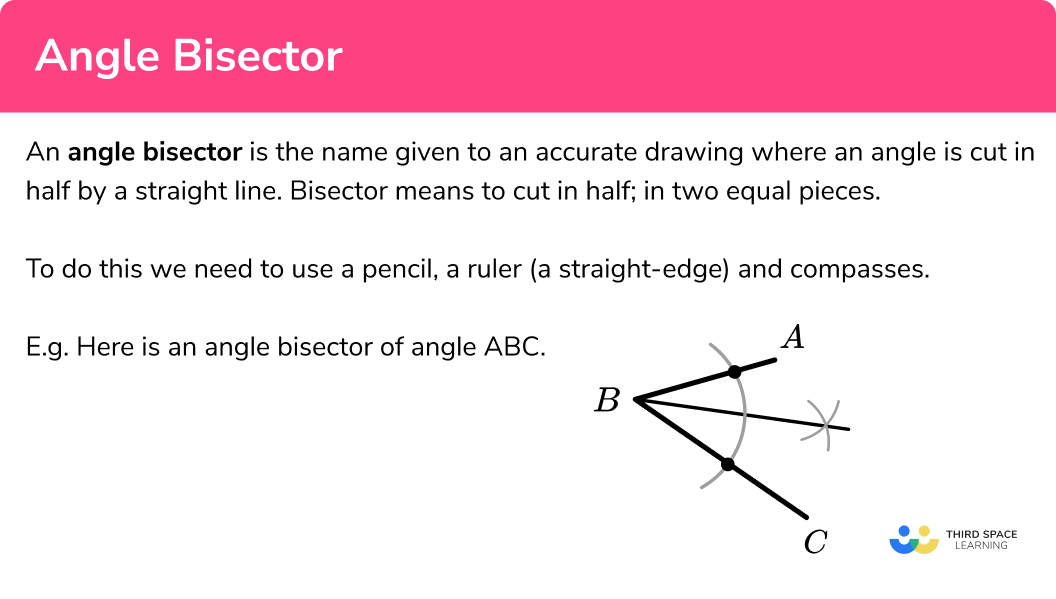
An angle bisector is the name given to an accurate drawing where an angle is cut in half by a straight line. Bisector means to cut in half; in two equal pieces.
To do this we need to use a pencil, a ruler (a straight-edge) and compasses.
E.g.
Here is an angle bisector of angle ABC .
Arcs are drawn with compasses at the vertex B . This arc creates two new points and two more arcs are drawn. The final straight line is drawn from B to the intersection of the last two arcs. The final straight line bisects the original angle into two equal angles. The two new angles are congruent.
What is an angle bisector?

Angle bisector theorem
The angle bisector theorem involves a triangle ABC.
It involves the relative lengths of the two segments that a side of a triangle is divided into when one of the angles of a triangle is bisected to create a new point D .
It states that \frac{\text { Length of } AB}{\text { Length of } A C}=\frac{\text { Length of } BD}{\text { Length of } D C}
How to construct an angle bisector
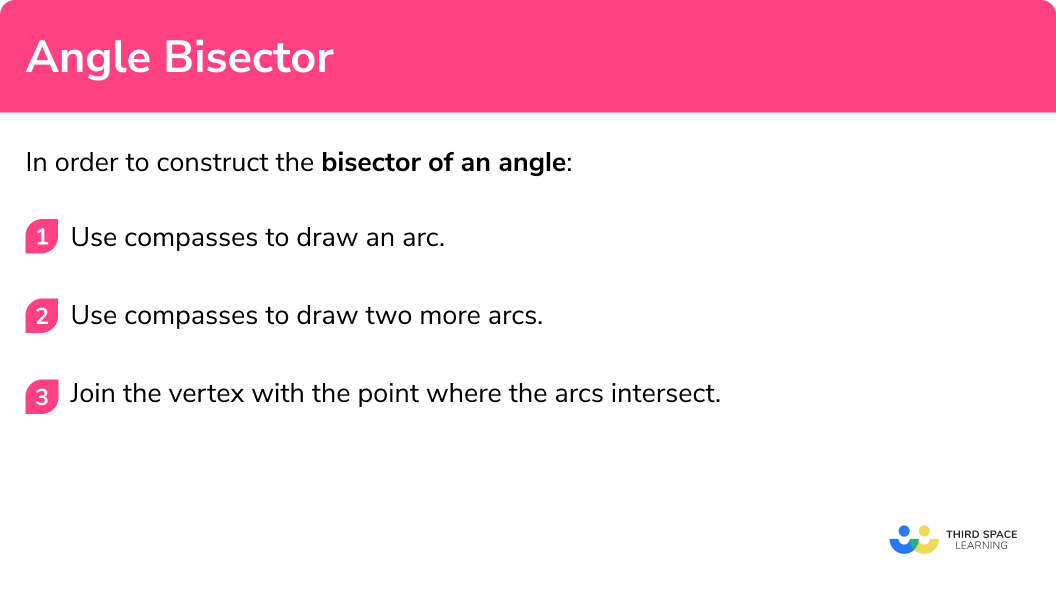
In order to construct the bisector of an angle:
- Use compasses to draw an arc.
- Use compasses to draw two more arcs.
- Join the vertex with the point where the arcs intersect.
How to construct an angle bisector


Angle bisector worksheet

Get your free angle bisector worksheet of 20+ questions and answers. Includes reasoning and applied questions.
DOWNLOAD FREE
Angle bisector worksheet

Get your free angle bisector worksheet of 20+ questions and answers. Includes reasoning and applied questions.
DOWNLOAD FREERelated lessons on constructions
Angle bisector is part of our series of lessons to support revision on construction and loci and construction. You may find it helpful to start with the main loci and construction lesson for a summary of what to expect, or use the step by step guides below for further detail on individual topics. Other lessons in this series include:
Angle bisector examples
Example 1: Angle bisector
Construct an angle bisector of angle ABC
Use compasses to draw an arc.
Set your compasses to a length that is less than the shortest arm. Putting the point of the compasses on B , draw one arc going through both AB and BC .
Use compasses to draw two more arcs.
Put the point of the compasses on the point where the first arc crossed AB and draw an arc. Keep the compass on the same setting. Repeat by putting the point of the compasses on the point where the first arc crossed BC and draw an arc. These two arcs need to intersect.
Join the vertex with the point where the arcs intersect.
Using a straight-edge – a ruler, join up the point where the arcs intersect each other with the vertex B .
The new straight line is the angle bisector of the original angle ABC and splits it into two equal parts.
You can check that the new straight line bisects the angle ABC by using a protractor.
Example 2: Angle bisector
Construct an angle bisector of angle PQR
Use compasses to draw an arc.
Set your compasses to a length that is less than the shortest arm. Putting the point of the compasses on B , draw one arc going through both PQ and QR .
Use compasses to draw two more arcs.
Put the point of the compasses on the point where the first arc crossed PQ and draw an arc. Keep the compass on the same setting. Repeat by putting the point of the compasses on the point where the first arc crossed BC and draw an arc. These two arcs need to intersect.
Join the vertex with the point where the arcs intersect.
Using a straight-edge – a ruler, join up the point where the arcs intersect each other with the vertex Q .
The new straight line is the angle bisector of the original angle PQR .
You can check that the new straight line bisects the angle PQR by using a protractor to measure. The angle ABC should have been cut into two equal angles. The two new angles are congruent.
Common misconceptions
- The construction arcs must not be removed
The arcs drawn should be drawn lightly so can be adjusted if needed but they must be visible in your final answer. This is to show that you have used the correct method to draw the perpendicular bisector accurately.
- The pencil should be sharp
A sharp pencil helps your diagram to be accurate. Using a small pencil in compasses can also be helpful.
Practice angle bisector questions
Angle bisector GCSE questions
1. Use ruler and compasses to bisect the angle at the point A .
You must show all your construction lines.
(2 marks)
for the angle bisector of BAD
(1)
for arc of circle radius 5cm centre C
(1)
for the correct shaded region
(1)
Learning checklist
You have now learned how to:
-
Construct an angle bisector
-
Solve a scale drawing problem with an angle bisector
The next lessons are
Still stuck?
Prepare your KS4 students for maths GCSEs success with Third Space Learning. Weekly online one to one GCSE maths revision lessons delivered by expert maths tutors.

Find out more about our GCSE maths tuition programme.

